Crafting Brilliance: A Step-by-Step Guide to Making Stunning UV Resin Coasters
Welcome to the world of UV resin crafting, where ordinary items transform into extraordinary pieces of functional art. In this tutorial, we'll guide you through the process of creating beautiful UV resin coasters, perfect for adding a touch of elegance to your home or for gifting to your loved ones.
Materials You'll Need:
- UV Resin
- Coaster Molds (silicone molds work well)
- Pigments or Liquid Dyes
- Mixing Cups and Stirring Sticks
- UV Lamp
- Heat Gun (optional for removing bubbles)
- Protective Gloves and Apron
Step 1: Prepare Your Workspace
Set up a clean, well-ventilated workspace. Cover your work surface with a disposable tablecloth or craft paper. Ensure you have all materials within reach for a smooth crafting experience.
Step 2: Mix the UV Resin
In a mixing cup, combine the UV resin and your chosen pigments or liquid dyes. Stir the mixture thoroughly, ensuring an even distribution of color. Follow the manufacturer's instructions for the resin-to-hardener ratio.
Step 3: Pour the Resin
Carefully pour the mixed resin into the coaster molds. Pour in layers if you want to create a multi-dimensional effect with different colors. Remember, UV resin is self-leveling, so a little goes a long way.
Step 4: Remove Bubbles
Use a heat gun to gently pass over the resin surface, popping any bubbles that may have formed during the pouring process. Hold the heat gun a few inches away and move it in a circular motion.
Step 5: Create Designs
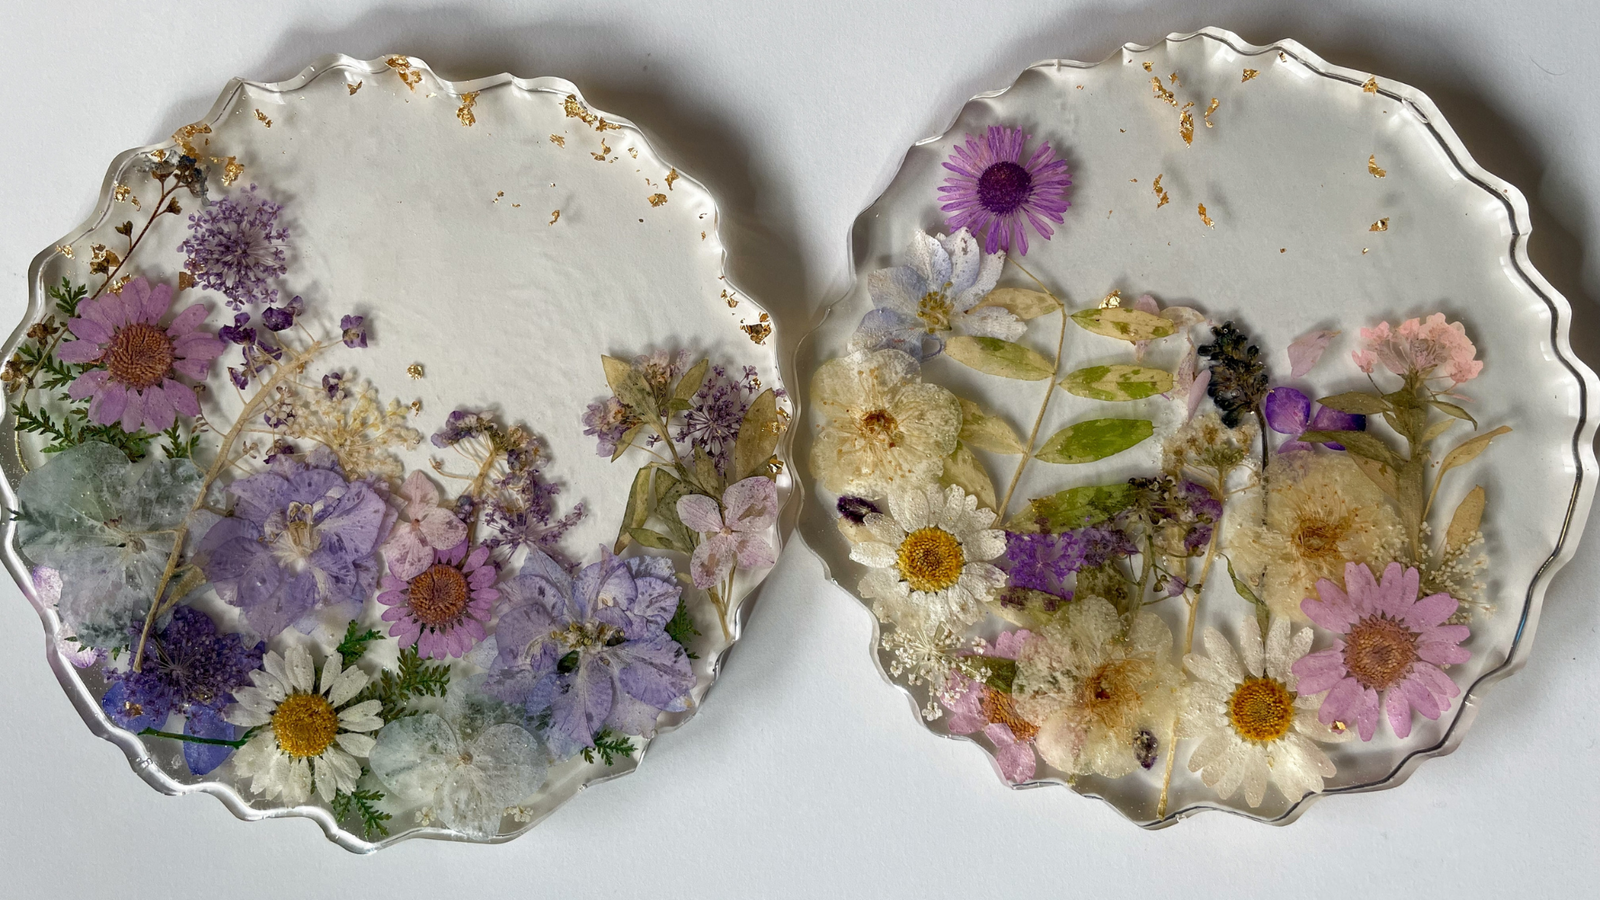
This step is where your creativity shines. Use toothpicks or small tools to create swirls, patterns, or incorporate additional elements like glitter or dried flowers. Experiment and let your imagination guide you.
Step 6: Cure with UV Lamp
Once you're satisfied with your coaster designs, place them under the UV lamp. Follow the recommended curing time provided by the manufacturer. Typically, it takes 1-5 minutes for the resin to cure completely.
Step 7: Remove from Molds
Carefully remove the painter's tape and gently pop the cured coasters out of the molds. If there are any rough edges, you can use a fine-grit sandpaper to smooth them.
Step 8: Final Touches
Inspect your coasters for any imperfections. If you find any, you can touch up with additional resin or leave them as unique quirks that add character. Wipe the coasters clean and enjoy your stunning creations!
Tips and Tricks:
- Experiment with different color combinations and layering techniques.
- Try embedding small items like sea shells or beads for added texture.
- Use molds with unique shapes or create a set of matching coasters for a cohesive look.
With this simple yet mesmerizing tutorial, you've unlocked the secrets to crafting UV resin coasters that are both functional and artistic. Now, sit back, admire your work, and let the brilliance of your creations shine in your living space. Happy crafting!